Thursday, 24 September 2015

Quilt in a Day - Not

My one and only completed block.
Yesterday, I went on a 'Quilt in a Day' course at a wonderful shop called Patchwork Cabin in Great Bookham. We were meant to make a large quilt top in one day.  (See below.) Our tutor, Julia, was lovely and very helpful, but I found the whole process stressful because the photo on the left is the only block I finished! And I am a confident sewist. (Sewing from the age of 12 will do that for you.)
Perhaps the project was too ambitious.  It took me all morning to stitch together 40 x 10" blocks, slice them diagonally (I had help with this.) and stitch them together in another way.  Then, we were meant to slice them again and re-stitch them.  The finished result of all this labour is on the left and I'm not sure I even like the fabrics.
This has not put me off making quilts. Far from it, but I may not finish this one. Back to my Lotta Jansdotter - a more modern quilt with fewer fiddly pieces and colours I love.


This is the tutor's quilt.  Beautiful and something to desire,
but maybe not something to aim for. 


Sunday, 20 September 2015

Why bother to sew?


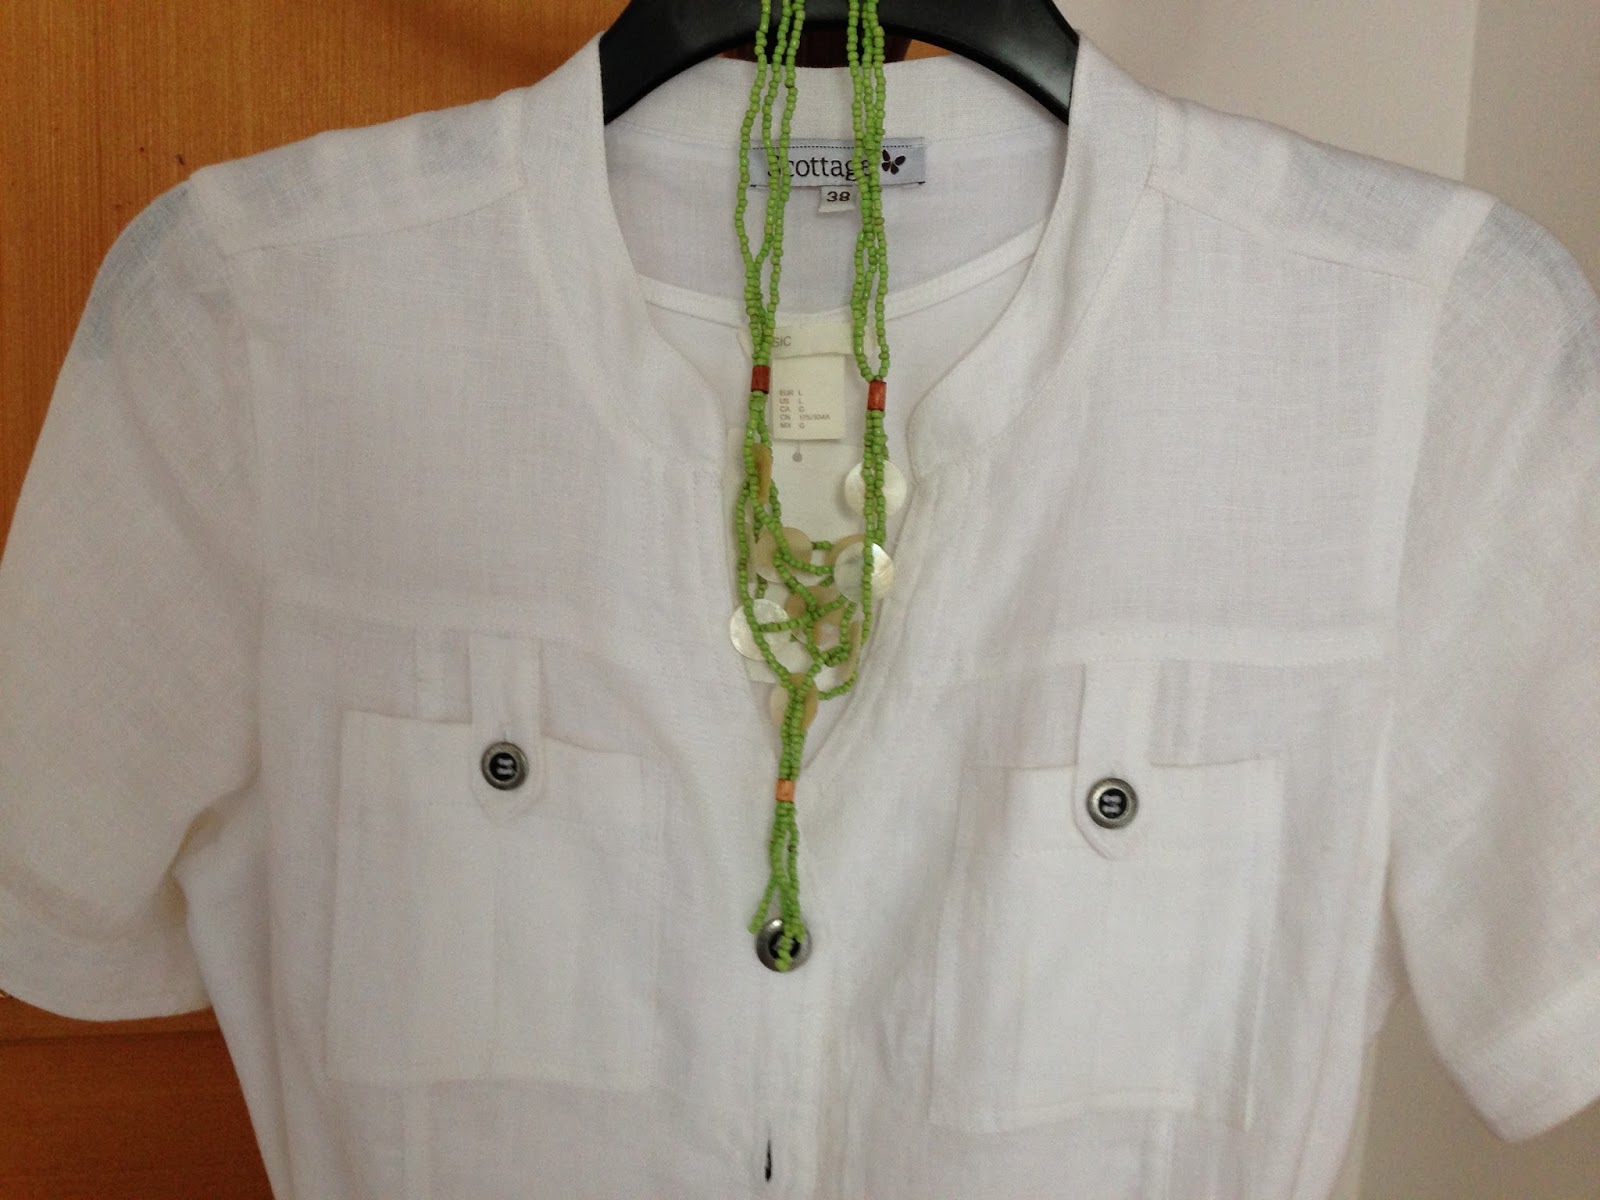
 Don’t get me wrong.  I love to sew and there is something very satisfying about making something yourself. For one thing, you can get just the right fit. For another, you can choose your fabric and have a one-off garment.  However, I found this little linen shirtdress on sale in France, marked down from 69 euros to 23 euros.  I couldn’t resist. The fabric would cost as much and it would take me some time to make it. All that detail, pockets, plackets, buttonholes.  Now all I need is a day warm and sunny enough to wear it.
N.B. This is a post that I wrote in the summer.  Accessing the internet was either too difficult or too expensive.  I did, in the end, wear the dress.  I am now thinking of dying it black or navy to increase the wearing time because white linen is only really appropriate in high summer. What do you think?


Tuesday, 15 September 2015

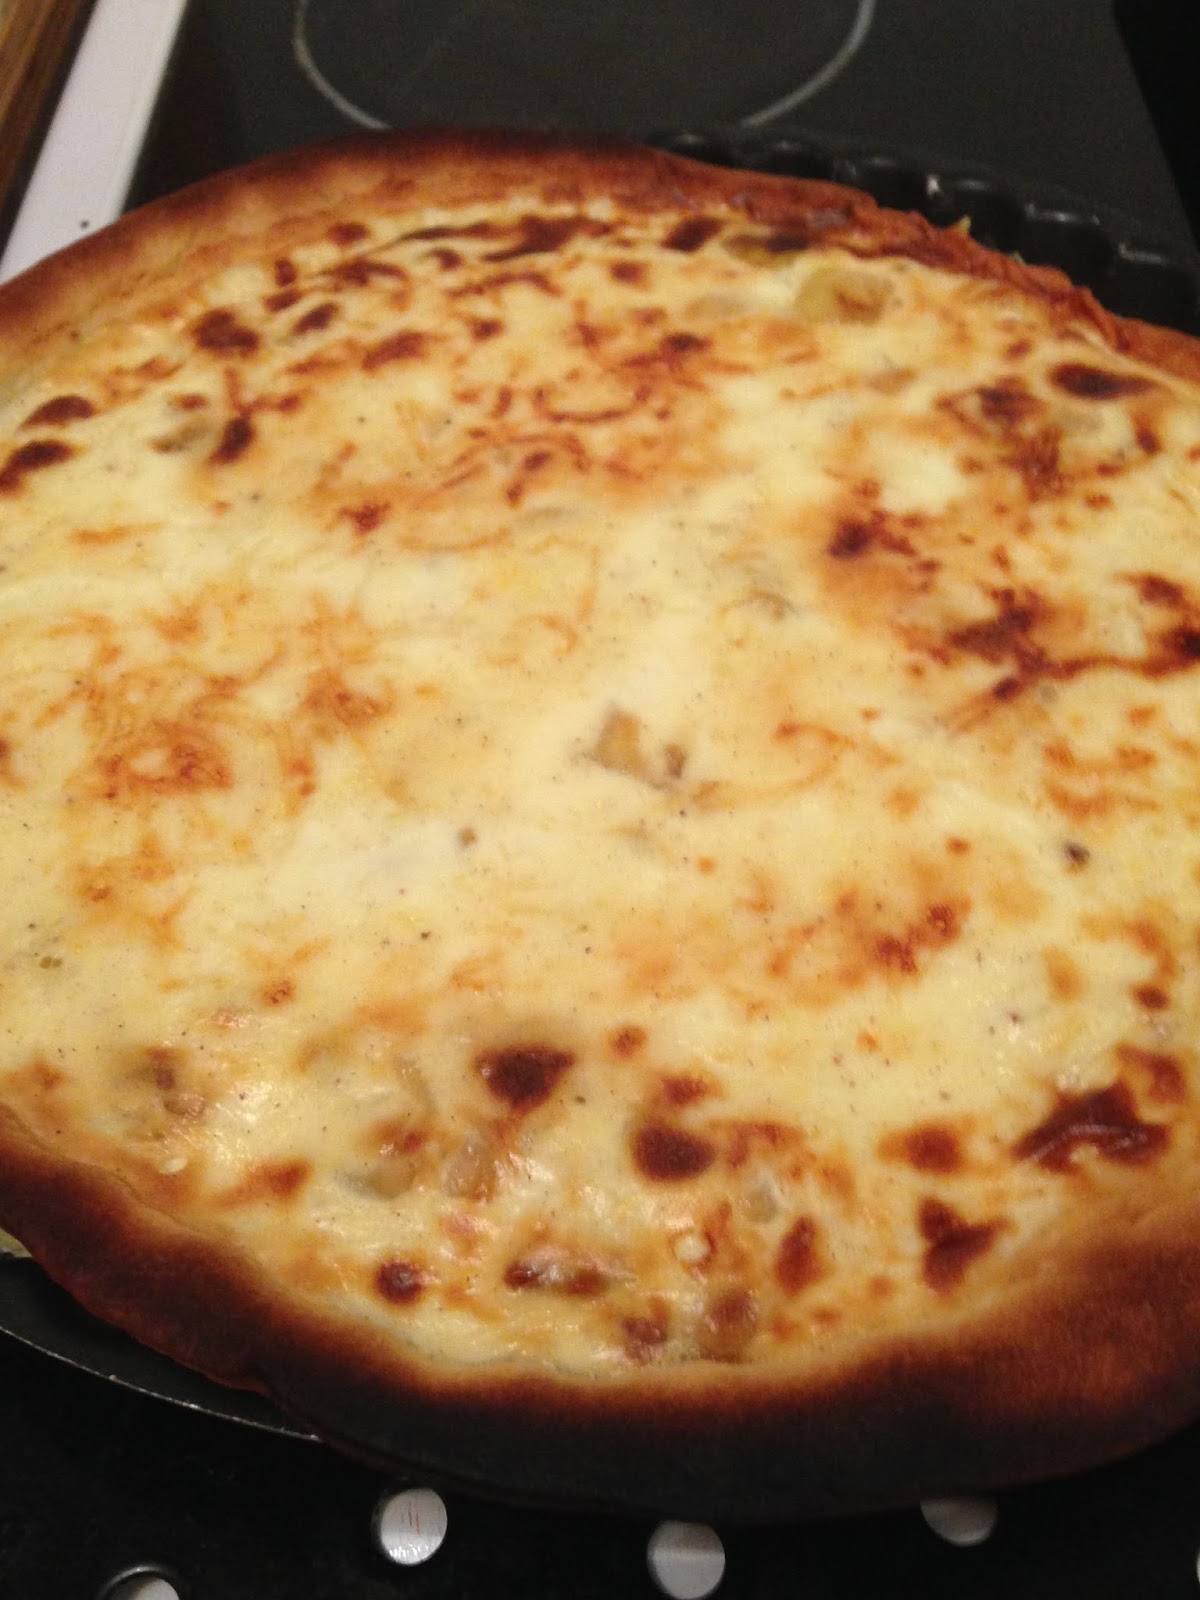
Make Ahead Mid-Week Meal, Caramelised Onion Tart

Caramelised Onion Tart is the perfect make-ahead meal.  It  keeps well in the fridge for two or three days and can be frozen and thawed and re-heated when needed. 
Caramelised Onion Tart is a great recipe for vegetarians as well as meat eaters.  It can be served hot, at room temperature (my favourite) or cold and therefore is easily transportable.  It’s one of my life-saving recipes when company is expected. It also makes a good dish for a street party, a fete or buffet.

Caramelised Onion Tart is easy to make, particularly if you use ready-made and rolled out pastry. In France, you can buy pastry rounds which, with a little trimming, just fit into a flan tin. In England you can buy ready made pastry in oblongs, which, with a little fiddling, will also fit into a flan tin. I have made this tart with homemade pastry as well, but it’s only worth the trouble is you have a lot of time and you make excellent pastry. Mine is variable!


What you need:
Ready-made pastry.
2 large onions or 3 medium sized ones.
2 tablespoons of oil and about an ounce (a knob) of butter. (The oil keeps the butter from burning.)
3 large eggs
¾ pint of liquid (I use about a cup of crème fraiche or cream and the rest milk to make it richer.)
1 dash of nutmeg (optional).
1 teaspoon salt and ½ teaspoon pepper.
About a cup of grated Emmenthal cheese.  (You can substitute any mild cheese, but Emmenthal compliments the sweetness of the onions.).


Method:
Lightly grease the flan tin and lay the pastry in it. 
Prick the pastry with a fork and brush lightly with egg.
Allow the pastry to hang over the sides and trim off excess later.
Blind bake at 200 C or 400 F for 10 minutes.
Remove from oven.
Turn the oven down to 180 C or 350 F.
Meanwhile, in a frying pan, sauté the onions in the oil and butter over low heat until they are brown and caramelized but not burnt.  (This will take about 25 minutes.).
In a large bowl, whisk the eggs and seasoning.
Add the milk and cream mixture.
Spread the onions in the pastry case.
Sprinkle the grated cheese over the onions.
Now carefully pour the egg and cream mixture over the top. 
Take care to keep it in the pastry case!
Put the tart in the oven and bake for about 25 minutes until the creamy mixture is set. 
Cool to room temperature and serve.


Carefully fit pastry to tin and prick the base.


Blind Bake for 10 minutes. Mine cracked at little, 

but I was able to stick it together while it was still warm.


Salute the onions in butter and oil until brown and caramelised.


Beat the eggs, then add milk and cream and seasoning.


Layer the onions, egg mixture, and cheese in the pastry base.


Remove from oven when the egg mixture is set and the top is golden.

 Enjoy.


Sunday, 13 September 2015

Sue's Next Quilt

 I have been away all summer and it has been difficult to access the internet unless I pay my service provider vast amounts of money.  Actually, I have, but I have now cancelled my contract as they got greedy. I managed to get a few things on Facebook when we were out and about.  I even wrote two blog posts, but they did not get sent.
We are back in England now and I am ready to sew and blog again.  In fact, I am eager to do so.
Meanwhile, my friend, Sue, has been busy making another quilt. I love the colours and the arrangement, so I thought I would share them with you. It's a lovely quilt for a spare room. All that's left o do is the quilting - ha ha.

Thursday, 11 June 2015

Make Do and Mend - from Hubby's Shirt to My Blouse


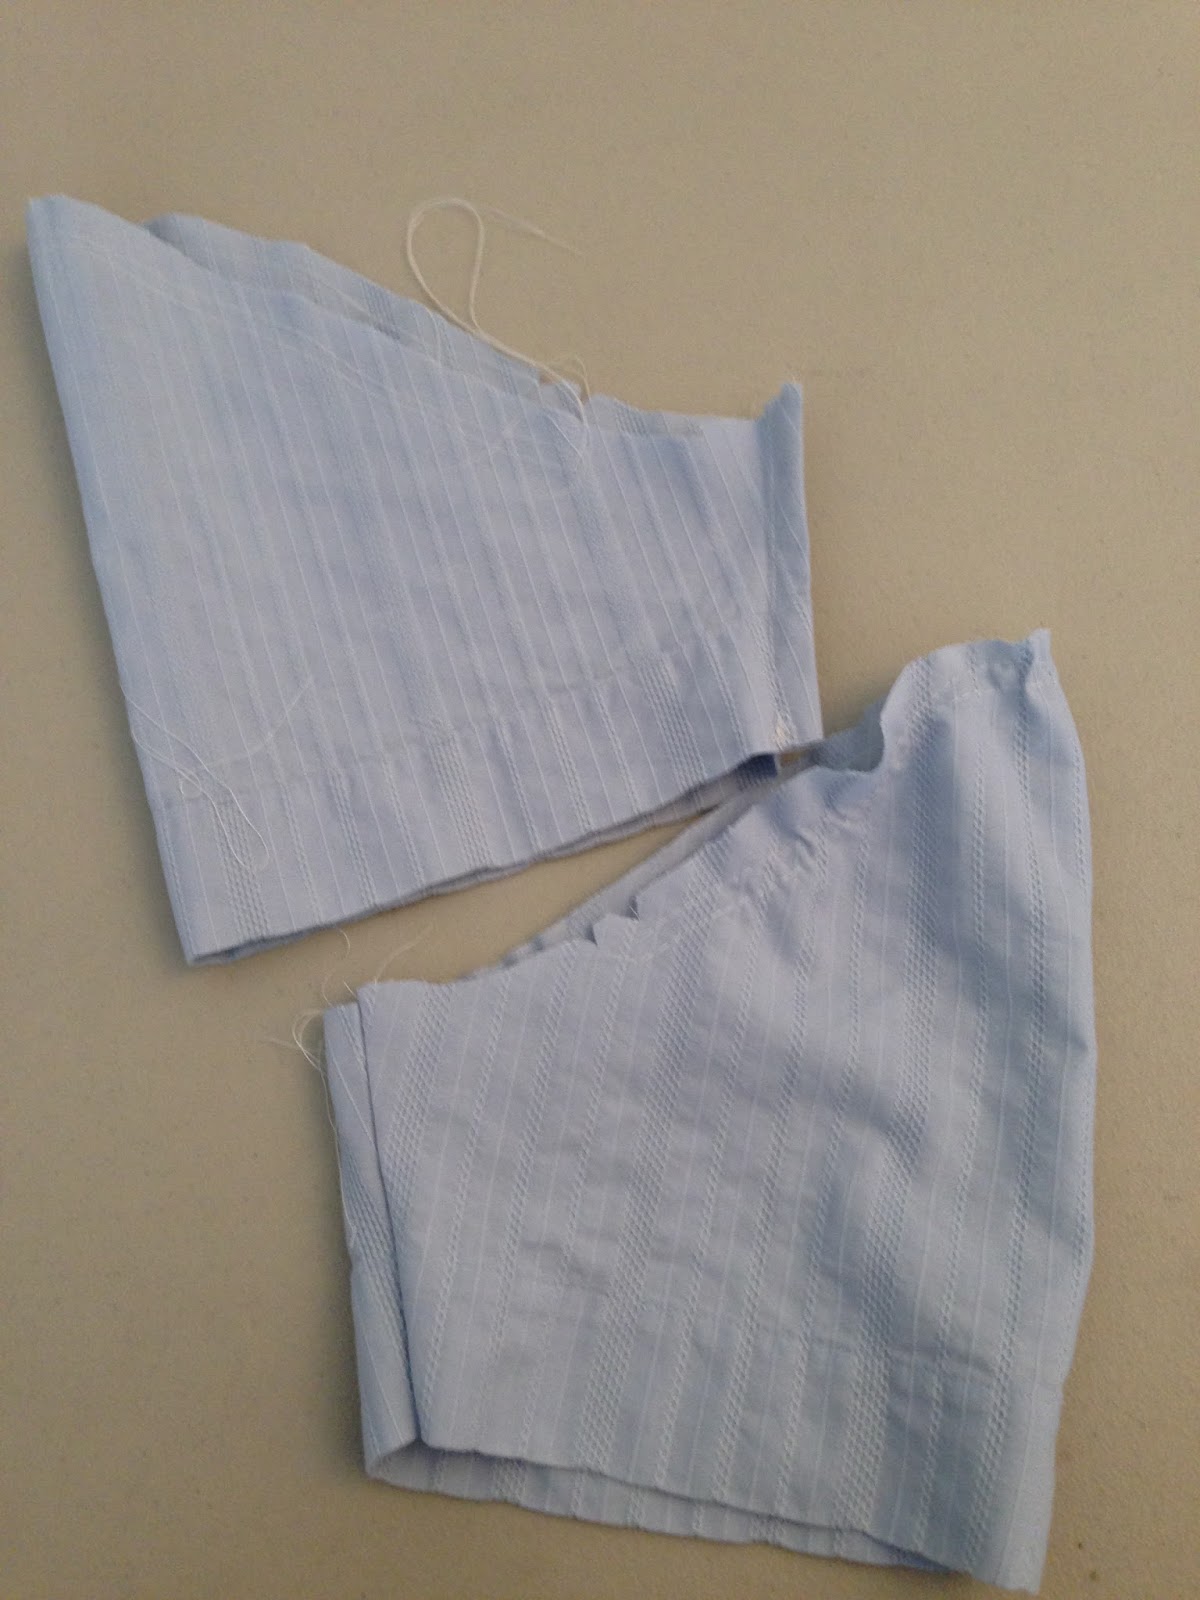
 I have several of Hubby's shirts in my stash cupboard.  For one reason or another he has not work the for years.  This one is a Ben Sherman shirt made of beautiful fabric.  Too good to waste.

I bought two beautiful pieces of fabric in Paris and do not want to cut into them until I am sure that the style and fit are exactly what I want, so I consider this a toile which I can also wear.  I'm pleased with the result and will now make it up in white linen without the front opening, but with two patch pockets.


This is the fabric up close.  You can see why I love it.


The first step was the hardest.  I had to steal myself to cut into the shirt.
Collar off  Sleeves off. 


Laying out the pieces and deciding how to use them.


I decided to use the sleeve hems rather than unpick them and then hem them again.


It's hard to see it, but I used the buttons and buttonholes for the front of my shirt. (Why re-invent the wheel?)

I stitched the sleeves using French seams to avoid a messy finish at the bottom.
You can see the gentle gathering at the head of the sleeves.  Two rows of stitching ensure that the sleeves will go into the armholes evenly.


My friend, Sue, modelling the shirt for me. She preferred it worn like a short sleeved jacket.


A close up of Sue wearing the blouse.  I nearly gave it to her.


Sue show the blouse buttoned up.


Sunday, 7 June 2015

Made in a Morning


A simple top made out of piece of batik in my stash.
I have been using some of my stash to try out some patterns. I bought some relatively expensive fabric in Paris a few weeks ago and I want to make two tops.  Instead of making toiles then I decided to make some wearable tops and if I liked them enough, I would make them again out of the better fabric. This one will be very useful in warm weather, but I don't think I like the shape well enough to make it out of the French fabric.

While I was making it, I thought I could also do a tutorial on a couple of 'tricky' techniques.
The back view.
How to face a neckline.

The finish of your garment can make all the difference between it looking home-made or professional.  My mother sewed beautifully (better than I do) and she was very particular about every stage of her work.  I was always proud to wear something she made and I would like to think that I am living up to her standards.

Cut out your facing and iron on interfacing.


Use a biro and a tape measure or ruler to mark the seamline.  This will make it much easier to stitch.


Stitch along the marks pivoting carefully at the point.


Trim the seams to voice bulk.


Carefully cut a notch at the centre of the V.


Clip the fabric around the curves.  This is a very important step to ensure the facing lies flat.


Trim the seam allowances at the shoulder seams.


Press and edge stitch facing to avoid 'rolling'. This entails stitching through the facings only.


Turn over and stitch through shoulder seams. This will prevent facing flapping and showing.  It eliminated the need for hemming which can spoil the look of the top.


Inside view of facing.


Trying on the top.  Photo courtesy of Hubby.


Attempting a 'selfie'.


Friday, 29 May 2015

Barbecued Spare Ribs and Home Made Oven Fries


Barbecued ribs, home-made fries and coleslaw.
 It's barbecue season again.  Soon our tiny London garden will fill up with smoke and wafts of lovely barbecued food from our neighbours' gardens.
We don't barbecue.
We are hopeless at it; therefore we have given up.
However, we do enjoy barbecued ribs and chicken cooked in our oven, smothered in a home-made barbecue sauce and served with home-made spicy fries.
Here's how:
Wrap ribs or chicken pieces in foil and place in the oven.  Bake for 30 - 40 minutes at 350/180 degrees until cooked and juicy.
At this point, you can put the ribs on the barbecue and coat them with sauce.  Watch them carefully so they don't burn.
If you are doing them in the oven, turn up the oven to 400/200 degrees. Open the foil and coat the meat with home-made barbecue sauce and then put it back in the oven for another 20 -30 minutes until the sauce is bubbling and the meat has a crispy outer layer.
Serve more sauce on the side.
Home-made oven fries
For the fries, peel potatoes and cut into chunky chip-size pieces.
Rinse in cold water and dry on a towel.
Put the potatoes into a bowl, drizzle over one to two tablespoons of vegetable oil, add some salt and pepper, a dash of cayenne pepper and 1/2 a teaspoon of oregano.
Mix well until all the potato pieces are coated with oil and seasoning.
Put a little vegetable oil on a large tray and heat in the oven until it is hot.
Tip in the potatoes and space them evenly around the tray so they will brown, not steam.
Bake at 400/200 degrees for about 1/2 hour, turning once or twice to get them brown all over.

Home-made barbecue sauce (I normally double this recipe.)
2 oz butter
2 Tablespoons oil
1/2 cup chopped onion
1/2 cup catsup (I buy the cheap still for this)
1/4 cup firmly packed brown sugar
3 Tablespoons Worcestershire Sauce
1 1/2 teaspoons chilli powder
1 teaspoon salt
1/8 teaspoon pepper
Dash of Tabasco sauce (optional0

Heat butter and oil.
Add onions and soften (about 10 minutes on low heat, covered).
Stir in remaining ingredients.
Simmer 5 minutes.