Tuesday, 30 July 2013

Jenny's Salad Nicoise


During the glorious fortnight of summer weather in July, friends stayed with me in France.  After lovely days out, we often ate a hearty, substantial salad for supper.  Here is Jenny’s version of Salad Nicoise. It is best made with traditional bib lettuce, as this lettuce is soft leaved and does not compete with the other flavours in the salad.  You could use Cos or Romaine lettuce for a crunchier salad, but avoid rocket, spinach, Italian mixed leaves, etc. They are really too strongly flavoured and will spoil the enjoyment of the other ingredients. Amounts can vary according to how many people you are going to serve.
(We left out the haricots verts by accident, but they are one of the traditional ingredients.)

Ingredients:
1 bib lettuce
2 cups cooked, firm new potatoes. We left the skins on for more flavor.
2 – 3 hardboiled eggs
1 tin tuna in oil, with the oil drained. (Tuna in brine does not have the same flavor or texture.)
2 spring onions, chopped
3 – 4 sliced tomatoes (or several  cherry tomatoes)
a handful of pitted black olives
haricots verts
basil leaves to garnish

Jenny’s Salad Dressing:
6 parts good quality olive oil
1 part Balsamic vinegar
1 teaspoon Dijon mustard
½ teaspoon sugar
Salt and pepper
The grated zest of one lemon
A little lemon juice

Method:
In a large bowl layer ingredients, working in rounds, in this order:
Bib lettuce broken into bite-size pieces (not too small)
Chopped spring onions
Potatoes
Tuna
Eggs (sliced or quartered)
Tomato slices
Olives
Anchovies
Haricot verts

Whisk dressing ingredients together and pour dressing evenly over the salad.
Do not mix or stir.
Garnish with basil leaves. 


Saturday, 6 July 2013

Follow me on Bloglovin

Although I have not been posting lately - I had a carpal tunnel operation which definitely has slowed me down - can't sew and can barely type - I have joined Bloglovin.  I'm working on new posts and will be posting again as soon as possible.  I'm still reading all of your posts every day and love the fact that so many people are enjoying sewing, crafting and cooking,  just like me.


Follow my blog with Bloglovin

Thursday, 6 June 2013

Early Summer Garden

The view from the kitchen door.

 This spring has been rainy and cool, but now the sun is shining,  everything is verdant. Too much so, as I can't keep up with the weeding (one handed). It's only a tiny London garden.
Hubby strimmed the grass, bless him, so it looks a bit tidier.
Several times a day I look at the garden just because it makes me happy.  I also find excuses to be out there when I should be doing something else, like sewing - still difficult and one handed. Hanging out the laundry is a joy again.

Flowers and herbs


Georgina the Goose on guard in the garden.


Fading Pansies and Burgeoning Geraniums 

The peony getting ready to bloom and my lovely foxglove.


My Little Angel with Blue Pansies


Monday, 3 June 2013

Lemon Yogurt Cake - The Monday Recipe

Here the cake is topped with a dusting of icing sugar.
This is a recipe borrowed from The  Barefoot Contessa. Three weeks ago, I had a carpal tunnel operation on my left hand and I have been watching quite a lot of television while my hand heals.  Today I am typing with my right hand only and that takes ages.
I tried this recipe because it  does not require a mixer.  I can't lift the mixer out of the cupboard, but I want cake! I NEED cake!


This cake is not overly sweet and it is delicious with a cup of coffee or tea.


Ingredients

1 1/2 cups flour
2 teaspoons baking powder (bicarbonate of soda)
1/2 teaspoon salt
1 cup plain full-fat yogurt
1 cup sugar
3 extra large eggs
2 teaspoons grated lemon zest (2 lemons)
1/2 teaspoon good vanilla extract
1/2 cup vegetable oil (not olive oil)

Method

In a large bowl, whisk together the yogurt, sugar, eggs, lemon zest and vanilla until smooth,
Add oil and mix in.
Add sifted dry ingredients and fold in gently until just mixed.

Pour mixture into a greased, lined 8 1/2 by 11 inch pan.
Bake at 180 C or 350 F for about 25 minutes.  Check that it is done by pressing lightly on the top.  If it springs back, it is done.

While the cake is baking, make a syrup from 1/2 cup of lemon juice and 1/2 cup sugar.
Put both ingredients in a pan and bring to a gentle simmer. Remove from  heat.

While the cake is still warm, pour the lemon syrup over the top.  Allow to cool and serve.

Tuesday, 21 May 2013

Simple Cushion Covers

My daughter recently moved into her own house. She does not have much furniture yet and thought floor cushions would be good. Her colour scheme is black, grey and white. I
 just happened to have some large cushions in my stash and we decided to use black twill. They do not look black in my photos, but they are.
Here's how I made them:


I used a T square along the cut edge of the fabric and drew a chalk line to ensure that it was straight.


Then I cut along the chalk line.


I knew the measurements of the cushions, but I laid one cushion on the fabric to check it before cutting.
(Hideous, aren't they, but I bought them to cover.)


Next I measured to the cutting line and drew another chalk line where the fold would be.


I placed the cushion on top of the folded fabric for one last check.


I folded and marked the fabric and cut it.

To make sure my seams would be straight, I marked the stitching lines.


I stitched along two sides, leaving one side open to put the cushion in.


Then I clipped the surplus fabric at the corners. You need to clip enough to make a good sharp corner,
but not so much that it will fray when turned through.


I turned it and very carefully poked out the corners, then pressed it using a cloth.  This is important on dark fabric so it doesn't mark.


Finally, I put the cushions into their covers, tucked in the seam allowance and stitched the ends closed by hand. (You could stitch them by machine if you wanted to.)


Sunday, 28 April 2013

Letting Go

These little girls in bikinis were very daring for the 1970's.

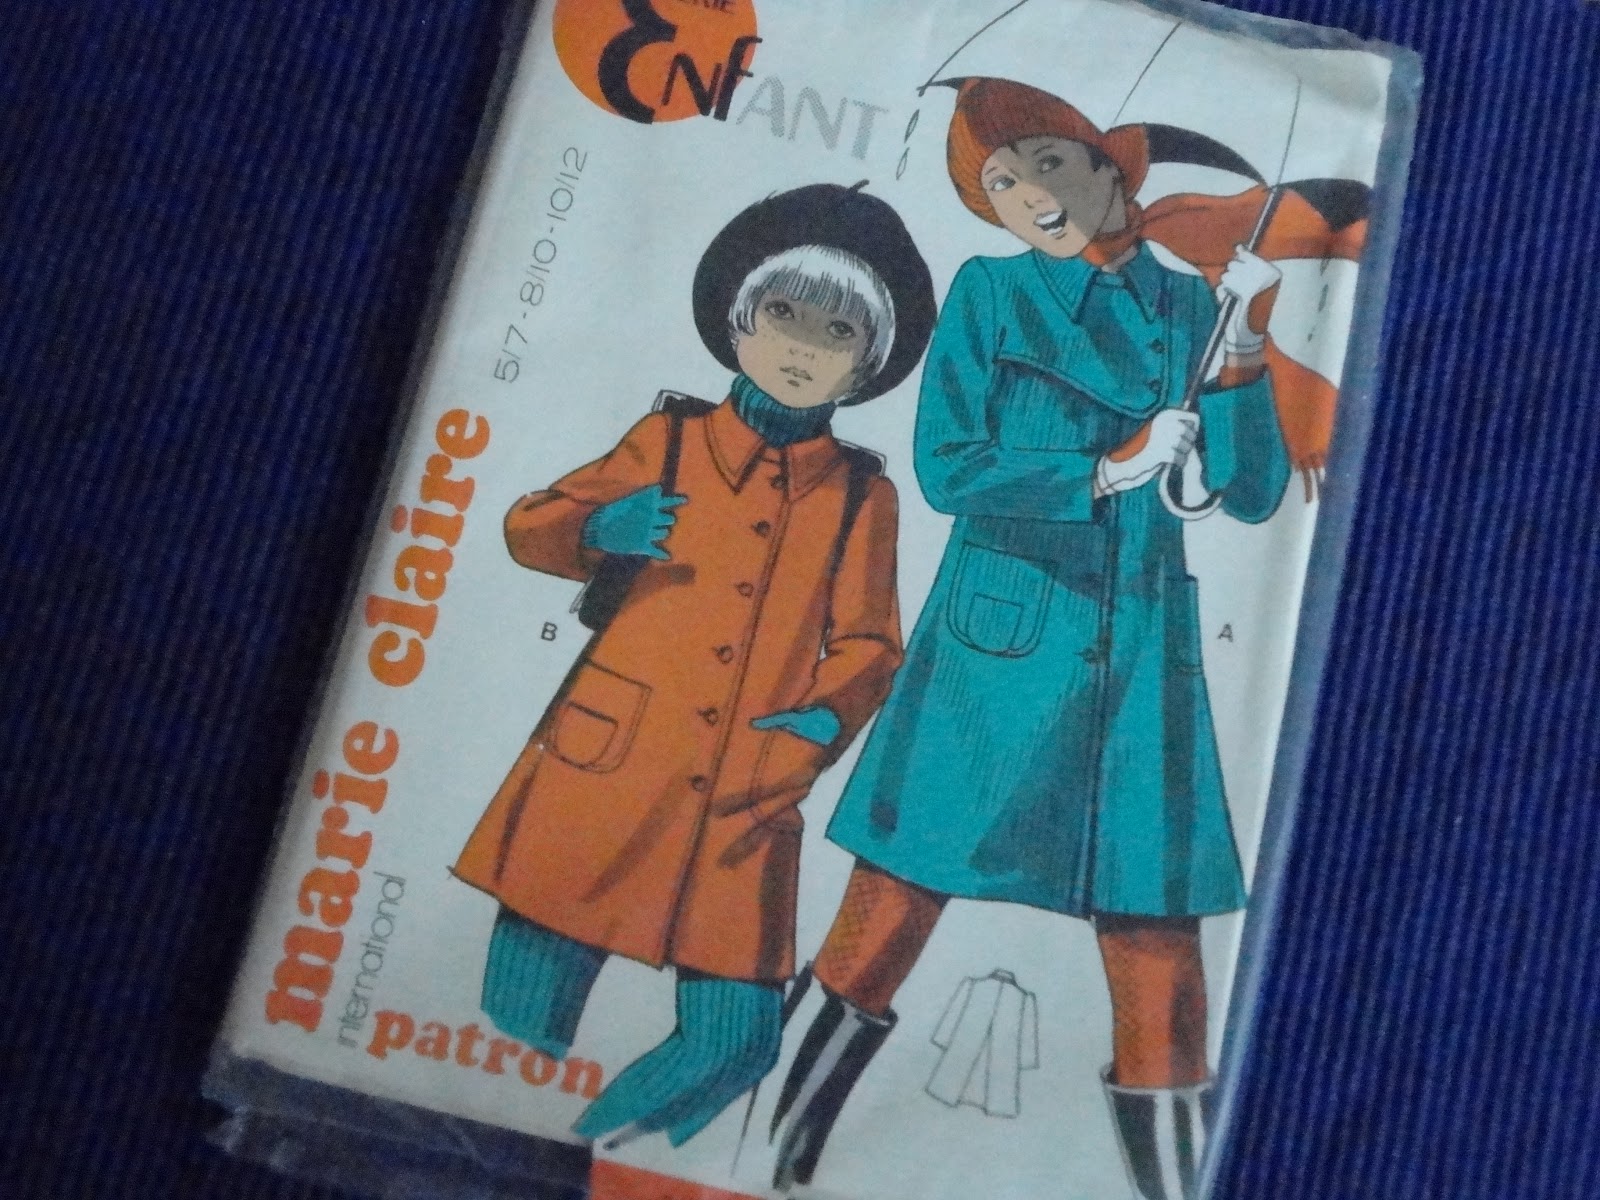
I have been collecting patterns, pattern books and catalogues for most of my life.  I love them.  Can't get enough of them, but the time has come to let some things go.  These in particular are hard to part with.  I bought them in Paris, in some little haberdashery shop near Montmartre in the 1970's.  I needed inspiration for a small mail order business I had then, making and selling children's clothes.   
Two weeks ago, Hubby and I braved the loft, with the intention of clearing it out.  We are both hoarders, so it was hard to do.  We lasted two hours and I made several trips to the tip and local charity shops, feeling very virtuous when I had finished. We will  need to do it again, but your back gives up after two hours of being bent double under the beams.
I threw away a large dustbin bag of patterns that I knew I would never use again, nor would anyone else.  I saved some of the better ones to sell on ebay. I would happily donate the good ones to a charity shop, but I have seen them wrap china and breakables in old patterns.  They do not sell them on. 
I will be sad to see these go, but hopefully someone will use them or put them in a museum.  
And in a way, letting go is very liberating.  Now for the fabrics...

Does anyone remember kids in jumpsuits?


These little denim jackets are almost fashionable now.


Very French.  I love the side closing on this dress.


Chic little raincoats.


How about these duffle coats?


Monday, 8 April 2013

Awkward Patterns - A Monday Moan


 Occasionally I run into difficulty with a pattern because the instructions are incomprehensible or incomplete.  When I chose this pattern, I thought it would be okay because:
It is a Simplicity pattern.
It is a costume.
How hard can that be?
Let me tell you, it can be quite hard.  When I got to the sleeves, the instructions might just as well be written in Greek. For one thing, I did not want to line the sleeves because that would make the garment bulky.  For another thing, although there was a view with ordinary sleeves, there was not a pattern piece for them. I had no choice but to make the split sleeves.


Fine.  I remembered that I had a real kimono somewhere in the back of the wardrobe and was able to work out the pattern by looking at the construction of a traditional one.

The drawings looked like this:


 See what I mean?  What are all these triangles???
At least this one had a happy ending.  I finished the kimono and it looked good.  See below:


The next story did not have a happy ending.  Admittedly, I chose an Advanced Vogue pattern, but as I am quite experienced in sewing, I expected to be able to figure it out.  Somewhere along the way it all went wrong.


This is the pattern.  It really doesn't look that difficult. The coat is a work of art and I had three different furnishing fabrics to make it in.  Beautiful fabrics.  Expensive.  All went well until I got to the collar.  The neckline was much smaller that the collar.  Help.  I tried everything,  but eventually gave up. The fabrics are probably still languishing in the attic.  They may become bags or cushion covers. Maybe some time...


 You may be able to just see what I mean although this is not a clear photo.  More incomprehensible instructions.


Note to pattern makers.  Put in more details.  Show more views.  I'm willing to have a go, but I want a good result. At the moment I am making a very simple capsule wardrobe for a trip to Rome in August. Easy patterns.  No problems. But that doesn't mean I won't tackle something more difficult again. In fact I am really inspired by 'The Great British Sewing Bee'.