I am in the process of making not one, but two, Koko Beal dresses and will be blogging both of them soon. In the meantime, I thought I would do a tutorial on how to face the armholes with bias binding.
In the past I have found armhole facings, cut from the pattern, bulky and cumbersome. They are usually a bit wide and sometimes ruin the look of the finished garment. So now I use bias binding to get a better, neater and narrower finish. It is also easier to stitch bias binding into the armhole as it gives, being bias cut, and allows you a little leeway with the size of the armhole. You do not end up with facing that is a millimetre too large or too small.
After you have stitched, pressed and finished the side seams, measure the bias binding leaving a generous amount at the ends.
Cut the bias binding for each armhole.
Then, press it open, so you have control of how much seam allowance to sew. Most patterns call for 1.5 cm or 5/8".
Carefully fold under one of the short edges, as shown.
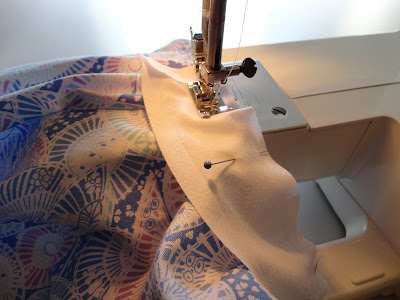
Then pin the binding around the armhole. I do not tack/baste at this point as I want to have a bit of room to adjust the binding as I sew.
Stitch around the edges, following the curve and checking that you are keeping to the required seam allowance.
Fold under raw edge and pin binding into place all around the armhole.
Now, tack/baste into place.
Finish the armhole by 'invisible' hand stitching. Not shown here.


Thanks for the tutorial.I love this blue fabric - the dress will look amazing.
ReplyDelete