Thursday, 11 June 2015

Make Do and Mend - from Hubby's Shirt to My Blouse


 I have several of Hubby's shirts in my stash cupboard.  For one reason or another he has not work the for years.  This one is a Ben Sherman shirt made of beautiful fabric.  Too good to waste.

I bought two beautiful pieces of fabric in Paris and do not want to cut into them until I am sure that the style and fit are exactly what I want, so I consider this a toile which I can also wear.  I'm pleased with the result and will now make it up in white linen without the front opening, but with two patch pockets.


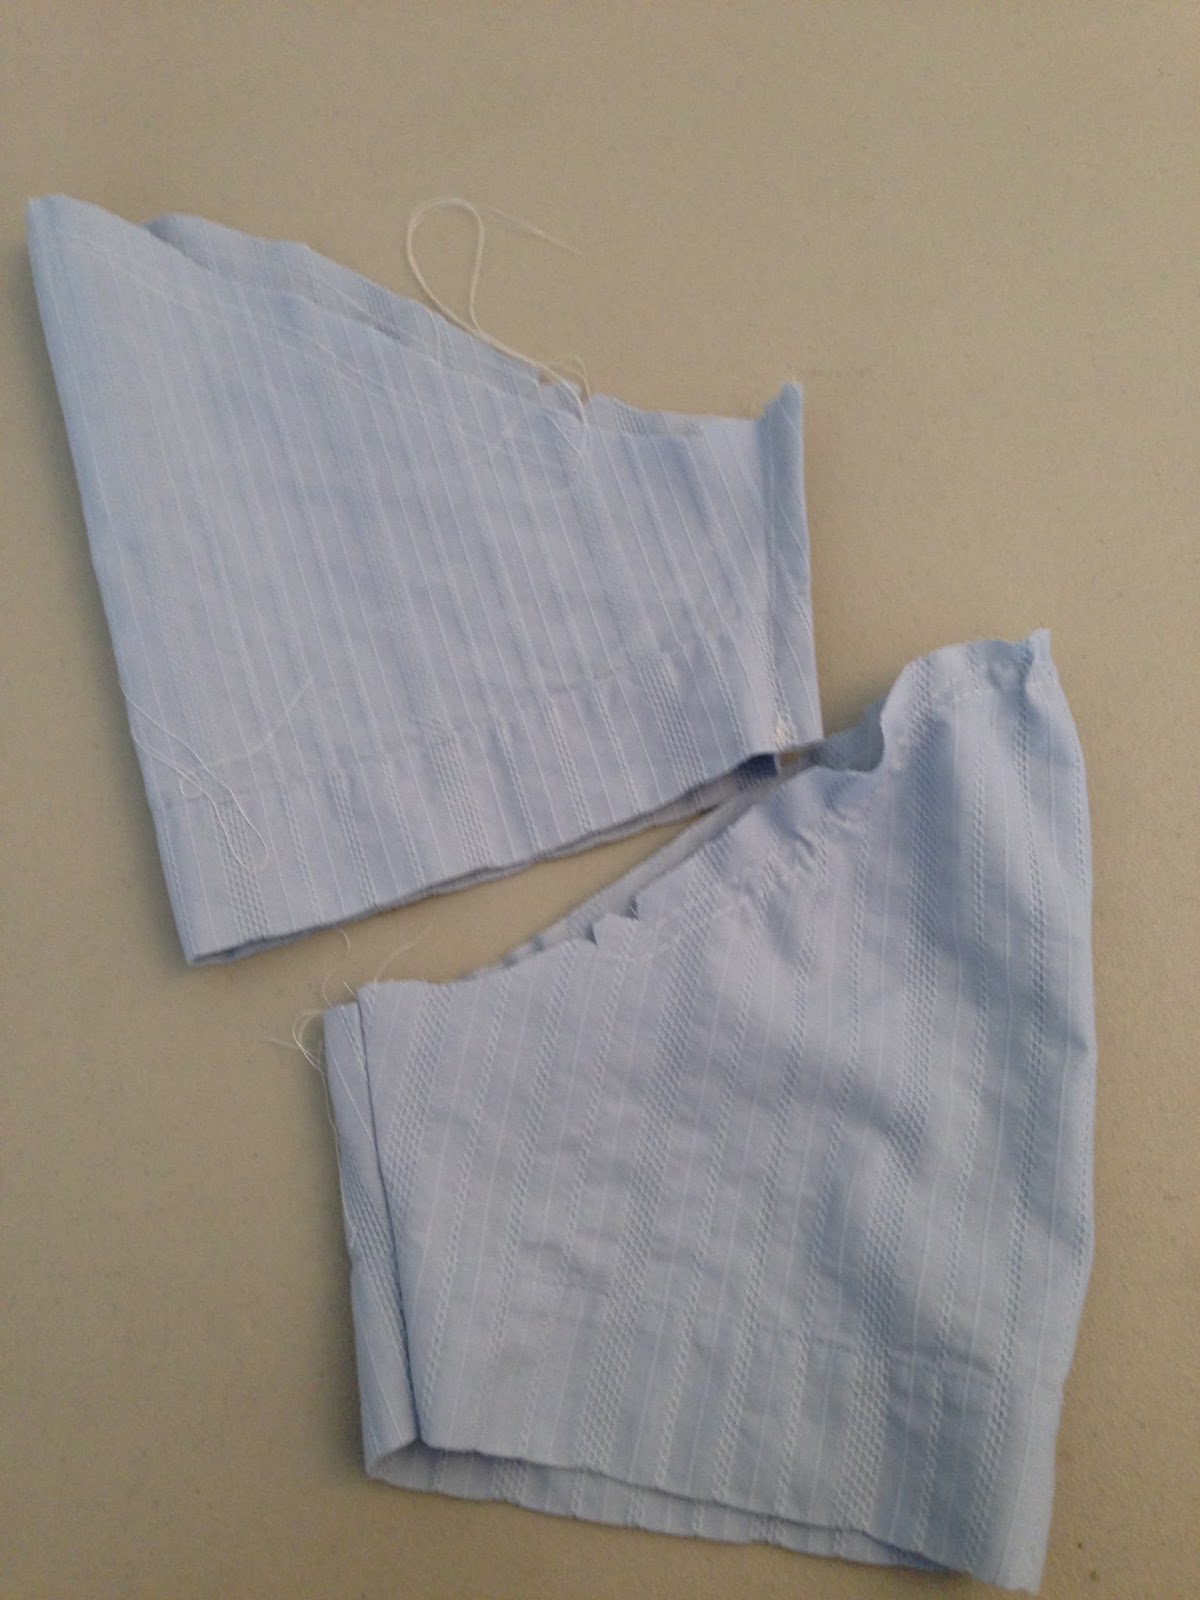
This is the fabric up close.  You can see why I love it.


The first step was the hardest.  I had to steal myself to cut into the shirt.
Collar off  Sleeves off. 


Laying out the pieces and deciding how to use them.


I decided to use the sleeve hems rather than unpick them and then hem them again.


It's hard to see it, but I used the buttons and buttonholes for the front of my shirt. (Why re-invent the wheel?)

I stitched the sleeves using French seams to avoid a messy finish at the bottom.
You can see the gentle gathering at the head of the sleeves.  Two rows of stitching ensure that the sleeves will go into the armholes evenly.


My friend, Sue, modelling the shirt for me. She preferred it worn like a short sleeved jacket.


A close up of Sue wearing the blouse.  I nearly gave it to her.


Sue show the blouse buttoned up.


Sunday, 7 June 2015

Made in a Morning


A simple top made out of piece of batik in my stash.
I have been using some of my stash to try out some patterns. I bought some relatively expensive fabric in Paris a few weeks ago and I want to make two tops.  Instead of making toiles then I decided to make some wearable tops and if I liked them enough, I would make them again out of the better fabric. This one will be very useful in warm weather, but I don't think I like the shape well enough to make it out of the French fabric.

While I was making it, I thought I could also do a tutorial on a couple of 'tricky' techniques.
The back view.
How to face a neckline.

The finish of your garment can make all the difference between it looking home-made or professional.  My mother sewed beautifully (better than I do) and she was very particular about every stage of her work.  I was always proud to wear something she made and I would like to think that I am living up to her standards.

Cut out your facing and iron on interfacing.


Use a biro and a tape measure or ruler to mark the seamline.  This will make it much easier to stitch.


Stitch along the marks pivoting carefully at the point.


Trim the seams to voice bulk.


Carefully cut a notch at the centre of the V.


Clip the fabric around the curves.  This is a very important step to ensure the facing lies flat.


Trim the seam allowances at the shoulder seams.


Press and edge stitch facing to avoid 'rolling'. This entails stitching through the facings only.


Turn over and stitch through shoulder seams. This will prevent facing flapping and showing.  It eliminated the need for hemming which can spoil the look of the top.


Inside view of facing.


Trying on the top.  Photo courtesy of Hubby.


Attempting a 'selfie'.


Friday, 29 May 2015

Barbecued Spare Ribs and Home Made Oven Fries


Barbecued ribs, home-made fries and coleslaw.
 It's barbecue season again.  Soon our tiny London garden will fill up with smoke and wafts of lovely barbecued food from our neighbours' gardens.
We don't barbecue.
We are hopeless at it; therefore we have given up.
However, we do enjoy barbecued ribs and chicken cooked in our oven, smothered in a home-made barbecue sauce and served with home-made spicy fries.
Here's how:
Wrap ribs or chicken pieces in foil and place in the oven.  Bake for 30 - 40 minutes at 350/180 degrees until cooked and juicy.
At this point, you can put the ribs on the barbecue and coat them with sauce.  Watch them carefully so they don't burn.
If you are doing them in the oven, turn up the oven to 400/200 degrees. Open the foil and coat the meat with home-made barbecue sauce and then put it back in the oven for another 20 -30 minutes until the sauce is bubbling and the meat has a crispy outer layer.
Serve more sauce on the side.
Home-made oven fries
For the fries, peel potatoes and cut into chunky chip-size pieces.
Rinse in cold water and dry on a towel.
Put the potatoes into a bowl, drizzle over one to two tablespoons of vegetable oil, add some salt and pepper, a dash of cayenne pepper and 1/2 a teaspoon of oregano.
Mix well until all the potato pieces are coated with oil and seasoning.
Put a little vegetable oil on a large tray and heat in the oven until it is hot.
Tip in the potatoes and space them evenly around the tray so they will brown, not steam.
Bake at 400/200 degrees for about 1/2 hour, turning once or twice to get them brown all over.

Home-made barbecue sauce (I normally double this recipe.)
2 oz butter
2 Tablespoons oil
1/2 cup chopped onion
1/2 cup catsup (I buy the cheap still for this)
1/4 cup firmly packed brown sugar
3 Tablespoons Worcestershire Sauce
1 1/2 teaspoons chilli powder
1 teaspoon salt
1/8 teaspoon pepper
Dash of Tabasco sauce (optional0

Heat butter and oil.
Add onions and soften (about 10 minutes on low heat, covered).
Stir in remaining ingredients.
Simmer 5 minutes.


Wednesday, 27 May 2015

Making Something out of Nothing

We returned from a long weekend in Paris yesterday, where there was so much to inspire me. I am ready to get started on more sewing and blogging.  Meanwhile, this little display in a Mercerie (haberdashery shop) caught my eye because it was a simple idea for a display.  Little organdie bags (for favours or jewellery) were hung on a small wooden fruit crate and dangled in the window.
My husband said it was making something out of nothing, a gift his mother had as she lived through two world wars, rationing and early widowhood.  She was always chic, even on a budget.
In the background you can see the lovely buildings across the road reflected in the window.

Monday, 16 March 2015

Tips on Making a Quit - Things I've Learned the Hard Way.

The first panel stitched.
 I have finally made a start on my Lotta Jansdotter quilt. It took me all afternoon and a bad back to cut out these strips.  After that, the sewing was easy. I plan to cut this piece in half vertically and add another panel to make a quilt that will hang horizontally over the bed.  Making the quilt top is the easy bit, however.  It's the quilting that is a real challenge, but I'll worry about that later.

I wanted the strips to be of varying widths so I played around with them on my cutting board until I got a combination that worked for me. I like the pink and orange colours the best, so I put them in the middle  The light mauve/grey at the top and the green at the bottom go well together, so I can add another panel vertically and it will work.
I cut carefully, but even so, I can see a slight curve at the bottom of the panel and I have to decide whether or not to ignore it. I think it happened because I cut the fabric folded in half and I probably got a little out of line at the fold end. (Live and learn.)

Strips laid out on in order on cutting board.
Tip 1.
Lay out quilting pieces in order.
Before sewing the strips together, I laid them out in order on my cutting board. That way I could lift them up, one at a time and stitch them without forgetting the order of sewing. If you are working with squares, put them in piles in the order of sewing.

Tip 2.
Use a walking foot and stitch in different directions.
I learned the hard way on a previous quilt, that the fabric will move whatever you do.  Even my walking foot did not prevent this altogether. You can counteract this by stitching the first strip in one direction and the next in the opposite direction.  Sometimes I had to stop and count to remember which way I was going, but it did help to minimise movement.

Tip 3.
Use thin wadding for easier quilting.
When I made my last quilt, I bought wadding that was quite thick, planning to make a nice, warm quilt. That caused me problems.  It was too thick to stitch on my machine and I had to do some quilting by hand. I do not enjoy hand sewing, so this was a problem  For this quilt, I will use the thinnest wadding I can buy.  As it will be a wall hanging, I do not have to worry about warmth. However, if my machine decides to chew the fabric, I may have to quilt it by hand.

Tip 4.
Choose a pattern that makes the most of your fabric.
I looked at many quilt patterns before I decided what I wanted to do with this quilt.  The fabrics are beautiful and I did not want to cut them too small or to use a pattern that would detract from them. Think about your fabric and how you want it to look when the quilt is finished.

Tip 5.
Don't kuse a flimsy backing.
Use a sturdy backing for your quilt.  When I planned my last quilt, I intended to use Liberty lawn as the backing. This did not work as the machine wanted to chew it up. Also it is an expensive fabric that will not be seen often.  Instead, I used a modern pattern of large pieces of Kona cotton and the equivalent and a printed cotton that I though blended with the quilt.

The backing on my last quilt.


Tuesday, 10 March 2015

What are you reading?

Elizabeth is Missing is a very good read about
an elderly woman who can't find her friend.
What a blessing a good read it. I've read several good books since Christmas and this is one of the best.  The story is about a woman who is trying to find her friend, Elizabeth, but she can't remember the clues.  Maud is elderly and losing her memory and the story is seen through her eyes. The reader is sometimes as confused and frustrated as she is, but the book has pathos and humour and this is what made it a good read for me. Interspersed with Maud's search for Elizabeth is another story about Maud's missing sister.  In the course of the story both mysteries are solved.
Lately, on the news, there have been too many stories about dementia.   The accompanying photos are always of old people in slippers. Heaven forbid that it should come to that. It's something I worry about, so I flip channels immediately, putting off the evil day. I can't say that this book made me feel better about it, but it certainly did not make me feel worse.  Maud is a very sympathetic character and some of her experiences ring true. Basically people in the story are kind and Maud has some satisfaction in the end.
What are you reading?

Sunday, 8 March 2015

Sunday Baking - Apple Cinnamon Muffins

Apple Cinnamon Muffins from Lee Bailey's Country Desserts.
I almost always want something sweet with a cup of tea in the afternoon. Today, after a huge lunch of roast lamb, etc cooked by Hubby, was no exception.
I didn't want to drag the mixer out from the cupboard and I wanted something quick.
Muffins are the perfect solution. They are quick and easy to make and need to be mixed gently by hand.  The butter is melted and added to the other wet ingredients, then just folded in.
We had them warm with some butter, which oozes out very satisfactorily.

Here's the recipe.
You will need:
2 cups sifted plain flour
1 Tablespoon baking powder
1 1/2 teaspoons ground cinnamon
1 teaspoon salt
3 large eggs (lightly beaten)
2/3 cup milk
3 oz melted butter
1/2 teaspoon vanilla extract
1/2 cup firmly packed light brown sugar
1 peeled, seeded and chopped apple
Muffin or cupcake tin and paper cups to line them.
Method:
Preheat the oven to 180 C or 350 F
Put paper cups in muffin tin.
(Makes about 12 medium sized muffins)
Sift together flour, baking powder, cinnamon and salt.
Combine eggs, milk, melted butter and vanilla.  Mix well.
Add brown sugar and beat into the wet mixture.
Add the flour, then the apple chunks and mix gently until the flour is incorporated.
Do not overmix.  It should be lumpy.
Bake for 20 minutes or until a cake tester comes out clean.
Serve warm with butter.