
 |
| The first panel stitched. |
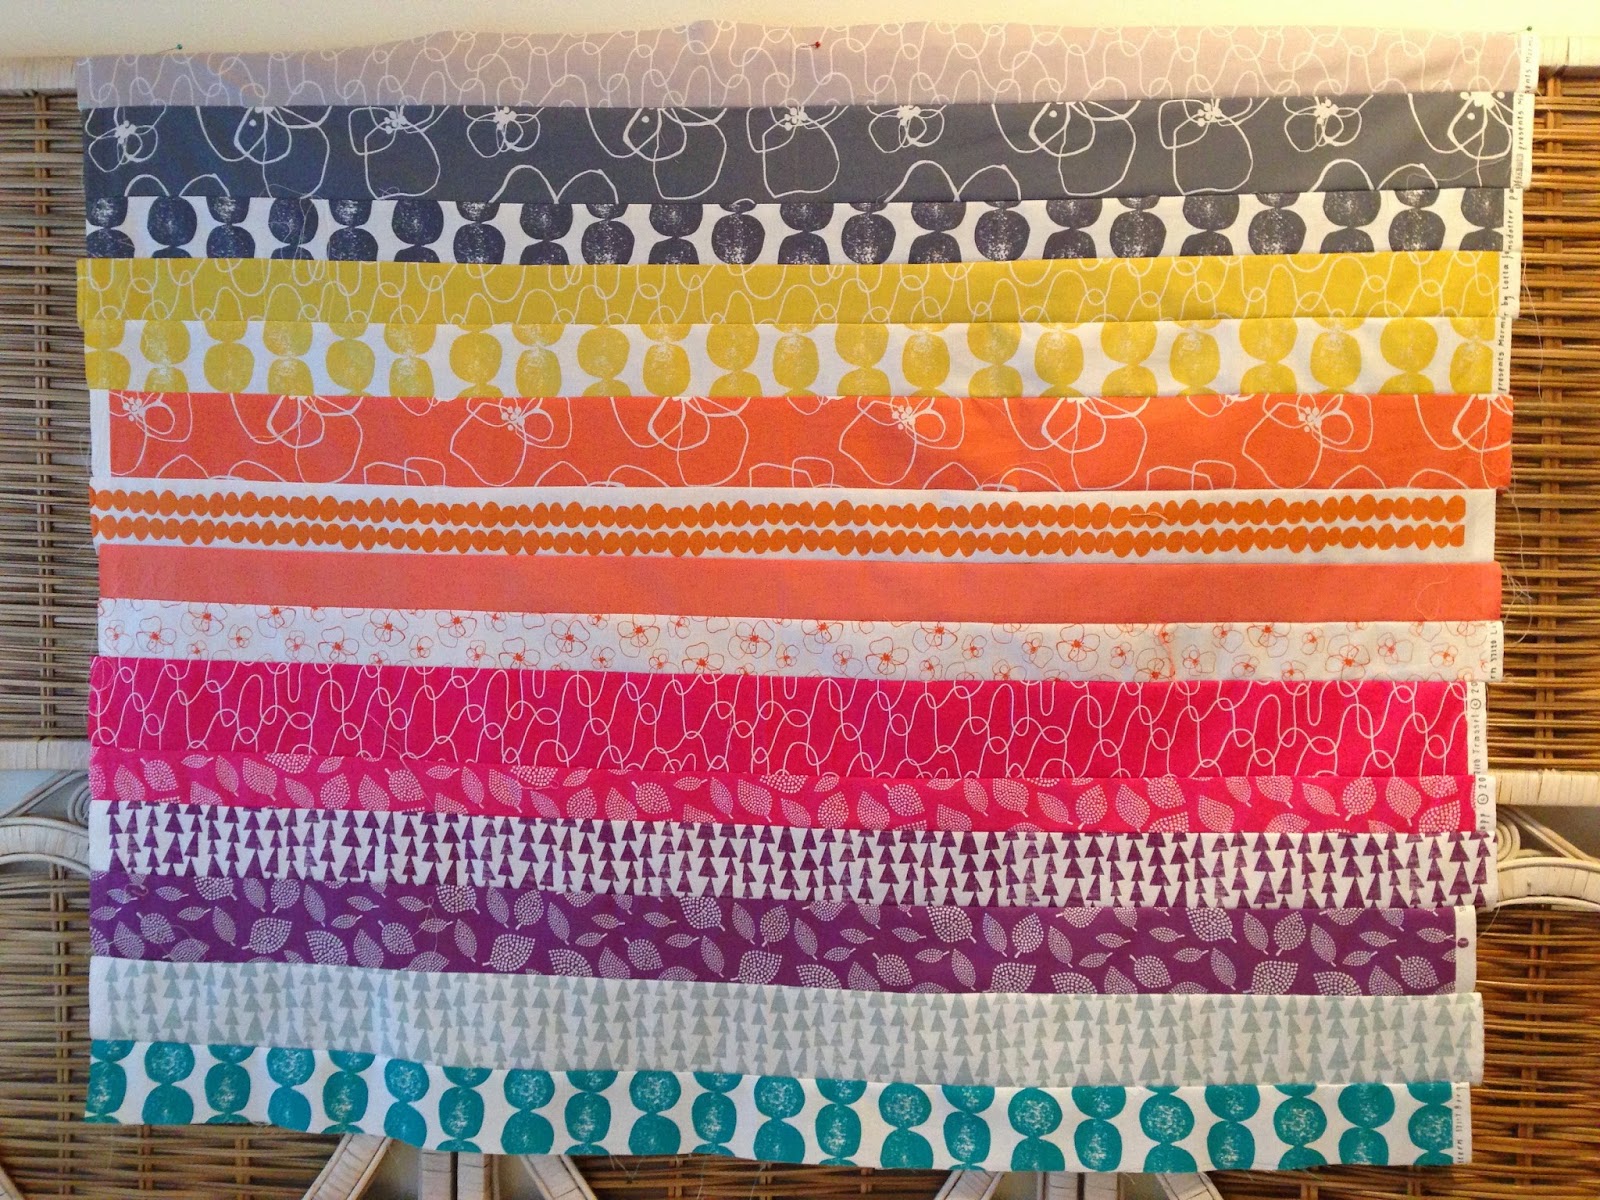
I wanted the strips to be of varying widths so I played around with them on my cutting board until I got a combination that worked for me. I like the pink and orange colours the best, so I put them in the middle The light mauve/grey at the top and the green at the bottom go well together, so I can add another panel vertically and it will work.
I cut carefully, but even so, I can see a slight curve at the bottom of the panel and I have to decide whether or not to ignore it. I think it happened because I cut the fabric folded in half and I probably got a little out of line at the fold end. (Live and learn.)
 |
| Strips laid out on in order on cutting board. |
Lay out quilting pieces in order.
Before sewing the strips together, I laid them out in order on my cutting board. That way I could lift them up, one at a time and stitch them without forgetting the order of sewing. If you are working with squares, put them in piles in the order of sewing.
Tip 2.
Use a walking foot and stitch in different directions.
I learned the hard way on a previous quilt, that the fabric will move whatever you do. Even my walking foot did not prevent this altogether. You can counteract this by stitching the first strip in one direction and the next in the opposite direction. Sometimes I had to stop and count to remember which way I was going, but it did help to minimise movement.
Tip 3.
Use thin wadding for easier quilting.
When I made my last quilt, I bought wadding that was quite thick, planning to make a nice, warm quilt. That caused me problems. It was too thick to stitch on my machine and I had to do some quilting by hand. I do not enjoy hand sewing, so this was a problem For this quilt, I will use the thinnest wadding I can buy. As it will be a wall hanging, I do not have to worry about warmth. However, if my machine decides to chew the fabric, I may have to quilt it by hand.
Tip 4.
Choose a pattern that makes the most of your fabric.
I looked at many quilt patterns before I decided what I wanted to do with this quilt. The fabrics are beautiful and I did not want to cut them too small or to use a pattern that would detract from them. Think about your fabric and how you want it to look when the quilt is finished.
Tip 5.
Don't kuse a flimsy backing.
Use a sturdy backing for your quilt. When I planned my last quilt, I intended to use Liberty lawn as the backing. This did not work as the machine wanted to chew it up. Also it is an expensive fabric that will not be seen often. Instead, I used a modern pattern of large pieces of Kona cotton and the equivalent and a printed cotton that I though blended with the quilt.
 |
| The backing on my last quilt. |
No comments:
Post a Comment